Good cold brew should taste smooth and sweet, with a deep cocoa aroma and more dark caramel than sharp roast.

If your cold brew keeps coming out hollow, harsh or oddly dry, the likeliest cause is that your grind size isn’t matched to your steep time and filtration.
Numbers help, but the goal is flavor: the berry notes of a natural Ethiopian, the nutty warmth of a pulped-natural Brazil, or the orange-peel sweetness of a washed Colombia that hasn’t been over-extracted.
With better home grinders (such as the Fellow Ode Gen 2) and more people brewing in the fridge, “coarse grind” isn’t enough advice. You need a starting point you can hit and a way to diagnose what you taste.
What Grind Size Does in Cold Brew
Cold brew extraction is slow on purpose. Without hot water speeding up dissolution, you’re relying on time to pull flavor compounds out of the grounds. Grind size is your main lever because it controls surface area—the same mass of coffee can expose vastly more or less area to water depending on how finely it’s crushed.
Cold brew is forgiving about temperature but sensitive to contact time. If you grind too fine and steep for 16 hours, you’ll often get a heavy, muddy cup with a papery bitterness that hangs on the back of your tongue. If you grind too coarse and steep for 12 hours, you may get a brew that smells great but tastes thin—like coffee-scented water.
The practical targets (microns + a simple rule)
If you want numbers you can use, start here:
- Coarse (classic cold brew): 900–1200 microns
- Medium-coarse (faster extraction or fridge brewing): 700–900 microns
- Avoid for long steeps: under ~600 microns unless you’re intentionally doing a short “flash” cold brew and filtering aggressively.
A good rule of thumb: the longer your steep and the worse your filter, the coarser you should grind.
Actionable takeaway
Before you change beans, filters, or ratios, do this once: grind a small test dose (say 30 g), rub a pinch between your fingers, and look for a texture like coarse sea salt with a few cracked-pepper boulders—not powdery, not chunky like aquarium gravel. This check catches most sludge problems before you brew.

Match Grind Size to Your Brewer: Toddy vs Mason Jar vs OXO
Different cold brew setups “forgive” different grind sizes because filtration changes what ends up in your cup. Fines (tiny particles) work against clean cold brew: they keep extracting while you drain, and they slip through weak filters, giving you that gritty, silty texture.
Toddy Cold Brew System (felt filter)
The Toddy Home Cold Brew System is unusually tolerant because its felt filter traps a lot of fines.
- Start at 800–1000 microns.
- If you’re steeping 14–18 hours at ~20°C (68°F), lean coarser (closer to 1000–1100).
With the Toddy, you can aim for a thick, syrupy concentrate with dark chocolate and toasted nut flavors and a round mouthfeel.
Actionable takeaway: If your Toddy batch tastes “dusty” or overly dry, don’t shorten the brew first. Coarsen your grind one step on your grinder and keep the same steep time. The felt filter can hide fines, but it can’t stop over-extraction.
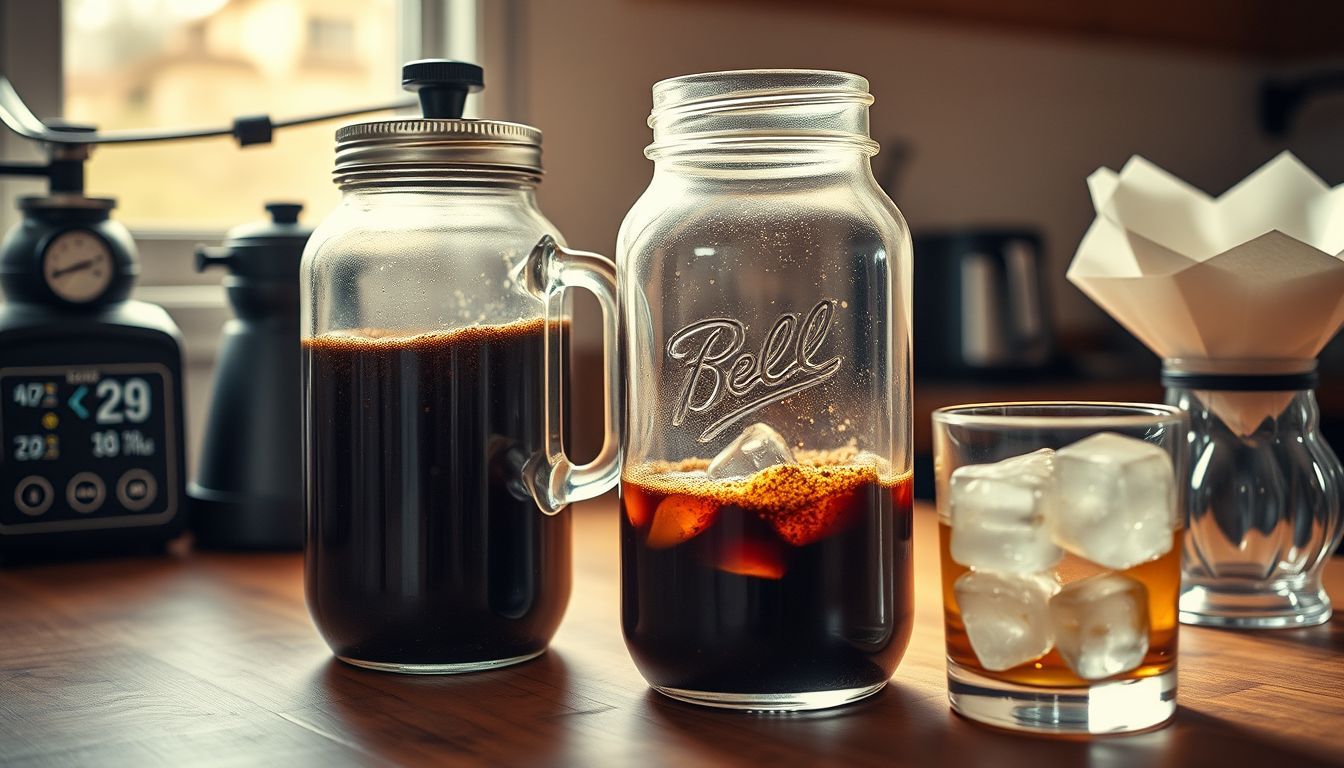
Mason jar and mesh strainer
A mason jar is accessible, but most people pair it with a mesh strainer and maybe a paper towel. That’s how you get sediment.
- Start at 900–1200 microns.
- Plan on a two-stage filter: mesh strainer first, then a real paper filter (like Chemex bonded filters or Hario V60 02 filters) to polish it.
This method suits a bright, aromatic cold brew, such as a washed Ethiopia Yirgacheffe with floral and bergamot notes.
Actionable takeaway: If you’re jar-brewing and hate the “mud line” at the bottom of your glass, the fix is simple: grind coarser and filter twice. Trying to fix sediment with finer grinding makes it worse.
OXO Compact Cold Brew or Filtron
The OXO Compact Cold Brew Coffee Maker and Filtron-style systems generally handle medium-coarse well because they’re designed around controlled draining.

- Start at 750–950 microns.
- If you’re brewing in the fridge at 4°C (39°F), you can go slightly finer (closer to 750–850) to compensate for slower extraction.
Actionable takeaway: If your OXO batch tastes a little flat after fridge brewing, don’t immediately steep longer. Drop your grind slightly finer (one notch) and keep the same steep time so you don’t drift into woody bitterness.
Grind Size, Time and Temperature
Grind size isn’t the only variable; grind, time and temperature work together. Change one, and the others need to move with it.
A reliable starting recipe (concentrate)
For a classic concentrate you’ll dilute later:
- Coffee-to-water ratio: 1:8 (e.g., 100 g coffee to 800 g water)
- Grind: 900–1100 microns (coarse)
- Time: 14–16 hours
- Temp: 20°C (68°F) room temp, or 18–20 hours in the fridge at 4°C (39°F)
This usually gives a heavy body, low perceived acidity, flavors like cocoa, caramel, and toasted nuts, with a gentle sweetness that lingers instead of turning ashy.
Ready-to-drink (RTD) style: cleaner, lighter, more aromatic
If you want something you can pour straight over ice:
- Ratio: 1:12 (e.g., 80 g coffee to 960 g water)
- Grind: 750–950 microns
- Time: 12–14 hours at 20°C (68°F) or 16–18 hours at 4°C (39°F)
This style suits brighter origins. A washed Kenya AA can give you blackcurrant and grapefruit peel, but only if you avoid over-extracting—otherwise it turns from juicy to tannic.
Water matters (even for cold brew)
Aim for water around:
- Total hardness: ~50–100 ppm as CaCO₃
- Alkalinity: ~30–50 ppm as CaCO₃
- TDS: roughly 90–150 ppm
If your water is extremely soft, cold brew can taste oddly sharp and thin. If it’s very hard, you can get a dull, chalky cup.
Actionable takeaway: If your cold brew is consistently harsh no matter the grind, try brewing one batch with Third Wave Water (Classic profile) or filtered water from a ZeroWater + remineralization approach. Keep the recipe and grind the same and compare.
Dialing In by Taste: Fix Bitter, Sour, Weak, or Muddy Cold Brew
You don’t need exact microns if you can read the cup.
If it tastes bitter, woody, or drying
Woody bitterness usually means over-extraction from too fine a grind, too long a steep, or both.
Fix it in this order:
- Grind coarser by one step (your best first move).
- Keep time constant, then taste.
- If still bitter, shorten steep by 2 hours (e.g., 16 → 14 hours).
You’re aiming for a finish closer to cocoa and caramel than wood.
If it tastes sour, grassy, or oddly salty
Cold brew doesn’t get “sour” the way under-extracted hot coffee does, but it can taste underdeveloped—like raw peanut or wet hay.
Fix:
- Grind slightly finer (one step) or steep 2–4 hours longer.
- If brewing in the fridge, consider moving to room temp for 12–14 hours instead of 18–20 hours cold. Warmer extraction is often cleaner than “extra long.”
If it tastes weak but smells good
This is the classic too-coarse + too-short combo. The aroma is strong, but the sip is watery.
Fix:
- Keep your ratio the same.
- Grind finer into the 750–900 micron range.
- Or extend steep time by 3–4 hours.
If it’s gritty, silty, or leaves sludge in the cup
A gritty or dusty texture means fines made it through the filter.
Fix:
- Grind coarser and use a better filter.
- For jar brews: mesh → paper filter.
- For concentrate: let it settle 10 minutes, then decant slowly to leave sediment behind.
Actionable takeaway: Make one change per batch. Change the grind, the time or the filtration, not all three at once.
Grinder Settings to Start With
Microns are useful, but you probably have a grinder with clicks or numbers. Here are starting points based on manufacturer guidance and common burr geometries.
Baratza Encore / Encore ESP (conical burr)
For cold brew, the Encore family tends to generate more fines than flat burr grinders, so you’ll often want to run a bit coarser than you think.
- Encore (original): start around 28–32 for jar cold brew; 30–34 for long steeps.
- Encore ESP (brew range): start around 35–45 depending on burr seasoning.
If you brew a natural Brazil (like Fazenda Santa Inês) at these settings, expect hazelnut and milk chocolate notes with a thick body.
Actionable takeaway: If your Encore cold brew tastes great but looks cloudy, increase grind by 2 clicks and add a paper filtration step to keep the sweetness and lose the grit.
Fellow Ode Gen 2 (flat burr)
The Ode Gen 2 suits cold brew well because flat burrs can produce a cleaner particle distribution.
- Start around Setting 8–9 for RTD (1:12, 12–14 hours at room temp)
- Start around Setting 9–10 for concentrate (1:8, 14–16 hours)
Try it with something like Onyx Coffee Lab‘s washed offerings (or any clean washed Colombia). Expect more clarity even in cold brew: sweet citrus, panela and a crisp finish.
Actionable takeaway: With the Ode, you can often go slightly finer than with a conical grinder without getting sludge. If your brew tastes thin, drop half to one setting finer and keep time the same.
Hario Skerton / Timemore C2 (hand grinders)
Hand grinders vary widely, but many produce a bimodal grind (boulders + fines). That means filtration matters even more.
- Start in the coarsest third of your adjustment range.
- Steep 14–16 hours, then filter through a real paper filter.
This works well with a washed Guatemala: cocoa, toasted almond, and a clean sweetness that plays well with milk.
Actionable takeaway: If you’re hand-grinding for cold brew, brew smaller batches (like 60 g coffee) more often. The coffee stays fresher and grinding is less work.
A simple “one-glass calibration” test
If you want a quick lab-style check without fancy gear:
- Brew 20 g coffee with 200 g water (1:10) in a jar.
- Use your planned grind.
- Steep 2 hours at room temp, shake gently once halfway.
- Filter through paper and taste.
If it’s aggressively bitter even at 2 hours, you’re too fine. If it’s barely coffee, you’re too coarse.
Actionable takeaway: This mini-test saves you from wasting 16-hour batches. Repeat it whenever you switch beans or grinders.
Final Thoughts
Cold brew relies on time, water and gravity rather than heat and pressure, which is why grind size matters so much: it largely decides whether the result tastes sweet and chocolatey or flat and papery.
Pick a starting point—900–1100 microns, 1:8, 14–16 hours at 20°C (68°F)—and run it like an experiment. Change one variable. Taste with intent. Write a note.
For a full walkthrough, see our step-by-step guide to cold brew coffee. If you’re shopping for dedicated equipment, see our review of cold brew makers.