Quick pick
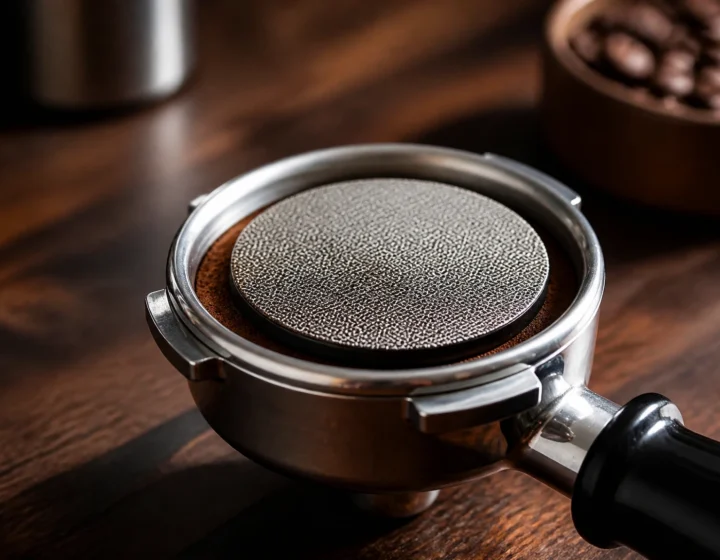
53.3 mm espresso puck screen: a reusable screen that can help water spread evenly over the puck.
When your espresso starts spraying
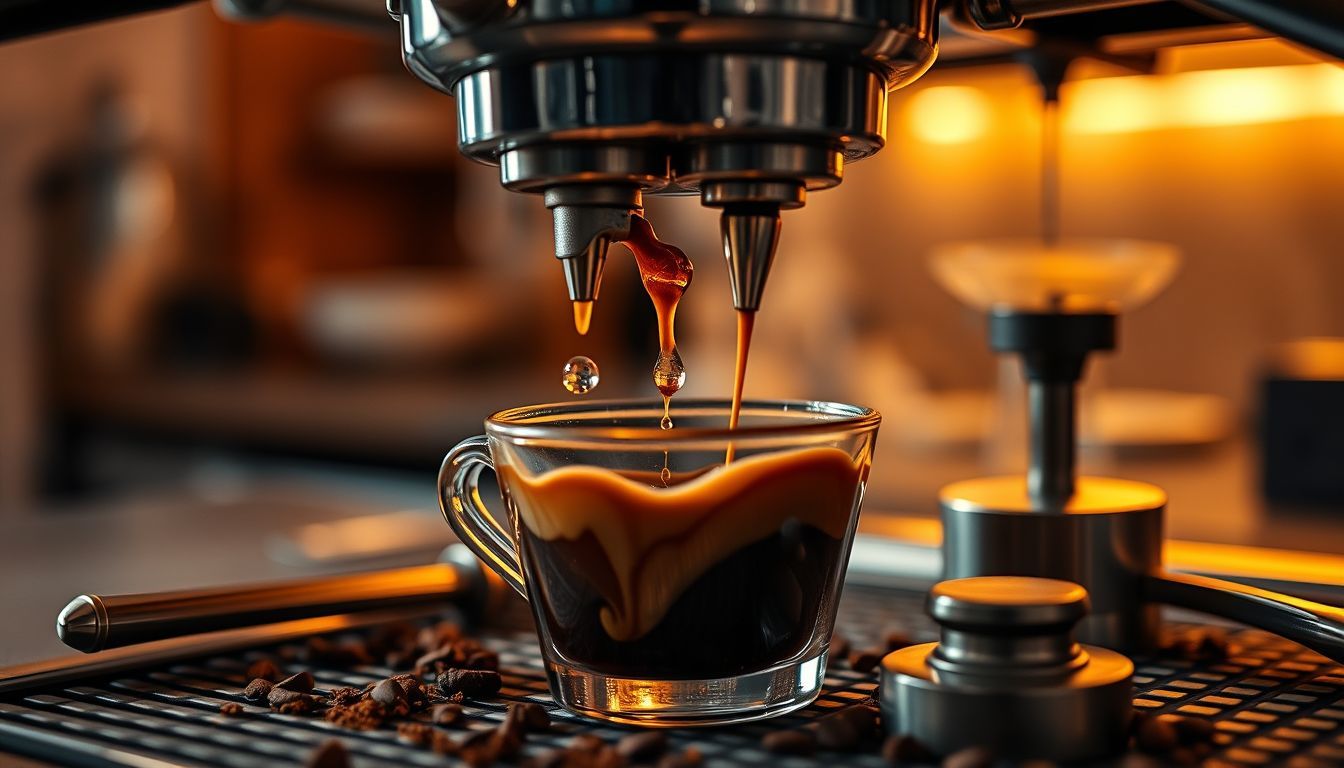
The first warning is usually the sound: the steady hiss of water meeting coffee turns into a sharp spitting noise as your bottomless portafilter starts throwing spritzers across the drip tray. The crema may look good for a moment, then it breaks apart.

The taste is usually a mix of sharp, lemony sourness up front, a hollow middle, and a bitter, ashy finish. Whether you own a La Marzocco Linea Micra or a modded Gaggia Classic Pro, that is not the shot you bought it for.
Channeling can start small and quickly ruin a shot. The good news is that it is rarely the machine’s fault. It is usually a solvable mismatch between puck prep, grind, dose, and how your machine delivers water.
This guide shows how to diagnose channeling and fix it with specific, repeatable steps.
1) What channeling is
Espresso channeling is when water finds an easier path through the coffee puck and rushes through that route instead of extracting evenly.
Signs of channeling
Visually, a channeling shot often starts with one or two pale, fast streams while the rest of the basket barely participates. In a bottomless portafilter, it can look like a single jet that suddenly shoots sideways—your “spritzer”—followed by blotchy blonding.
In the cup, it usually tastes sour and bitter at the same time. Sour comes from under-extracted zones (water ran through too fast). Bitter comes from over-extracted zones (water stalled and chewed on fines). The mouthfeel can be thin and sharp instead of syrupy and cohesive.
By the numbers: if you’re aiming for a classic 1:2 ratio—say 18 g in, 36 g out—and your shot time is bouncing between 18 seconds one day and 35 the next with the same settings, the puck is the likely problem.
Takeaway: diagnose with three tools
Use a scale, a timer, and (if possible) a bottomless portafilter. You’re looking for repeatability:
- Keep dose constant (e.g., 18.0 g).
- Keep yield constant (e.g., 36 g).
- Watch time stabilize (typically 25–30 seconds for many modern medium roasts, though light roasts can run longer).
If you can’t repeat within ~2–3 seconds shot-to-shot, channeling is likely part of the problem, and the fix is to control the puck rather than blame the beans.
2) Puck prep mistakes that cause spritzers
Most channeling starts with puck prep.
Grind: too coarse, too many boulders, too many fines
If your grind distribution is messy—some big particles (boulders) and some powder (fines)—water will carve routes through the weak spots. This is why grinder choice matters. A Niche Zero tends to give forgiving, chocolatey shots. A Baratza Sette 270 can be fast and punchy but may need extra prep. A Eureka Mignon Specialità is a solid middle ground.
Distribution: break up clumps
Clumps in the basket create density pockets, and water tends to route around them.
Do WDT (Weiss Distribution Technique) with a thin needle tool—around 0.35–0.4 mm needles work well. Stir all the way to the bottom of the basket, then tap lightly to settle.
Tamping: level beats “strong”
A tilted tamp encourages channeling. You do not need a hard tamp; you need a level one. Aim for consistent pressure (many baristas land around 10–15 kg of force), but the bigger win is a flat puck.
Takeaway: a simple puck prep routine
Try this exact sequence for your next three shots:
- Dose 18.0 g into a dry basket.
- WDT thoroughly (10–20 seconds), breaking every clump.
- Tap the portafilter once on the mat to settle.
- Tamp level—watch the rim of the basket as your “horizon line.”
- Optional: add a puck screen to reduce shower-screen turbulence.
If spritzers drop right away, the problem was puck prep, not your machine.
3) Basket, shower screen, and pressure
Sometimes puck prep is fine and the machine is contributing to the problem.
Basket quality and fit: precision matters more than aesthetics
Stock baskets can be inconsistent. A precision basket like VST or IMS can improve flow uniformity, but it will also expose bad prep.
Also check headspace: when you lock in, you want a little room between puck and shower screen. As a rough guide, aim for about 2 mm of clearance. If you’re overdosing and imprinting the shower screen screw into the puck, you are setting it up to channel.
Shower screen cleanliness
A dirty shower screen distributes water unevenly. That means the puck gets hammered in one spot, and you get a spritzer in return.
Even drip brewers like the Cuisinart programmable coffee maker have a shower head that needs periodic cleaning (check the manual). On an E61 group machine, backflush and clean the dispersion screen regularly. The aroma of rancid coffee oil is unmistakable—stale peanuts and old toast—once you know it.
Pressure and preinfusion
Classic espresso is around 9 bar, but many modern setups do better with a gentler ramp. If your machine supports it (the Decent DE1, for example), try 3–6 seconds of preinfusion at low pressure, then ramp up. This helps saturate the puck evenly before full pressure hits.
Takeaway: a machine-side checklist
- Clean shower screen + dispersion block (schedule it weekly if you pull daily shots).
- Verify basket dose/headspace (try dropping from 18 g to 17 g if you see screen imprints).
- If you can adjust pressure, try 8–9 bar for medium roasts; for very light roasts, experimenting around 7–8 bar can reduce channeling and harshness.
- If you have preinfusion, start with 5 seconds.
The goal is to saturate the puck evenly before full pressure hits.
4) Beans and water
You can have perfect puck prep and still get chaos if your coffee is too fresh, too old, or your water is very hard.
Coffee freshness and rest
Freshly roasted coffee releases CO₂. Too much gas can disrupt puck integrity, causing micro-fissures that become channels.
As a starting point:
- Medium roasts: rest 5–10 days post-roast.
- Light roasts: rest 10–14 days.
Yes, you can pull earlier, but you’re signing up for more inconsistency.
Try an example you can actually taste: a washed Ethiopian (say, something like a Yirgacheffe from a specialty roaster) often throws bright jasmine and lemon peel aromatics when dialed in—but when it channels, those florals turn into sour, thin sharpness, like under-ripe lime. Meanwhile, a natural Brazil might still taste “okay” while channeling because chocolate and nut notes are more forgiving. Don’t let that trick you.
Water chemistry
Espresso is mostly water. If your water is extremely hard, you can get uneven extraction and scaling that messes with flow and temperature stability.
A practical home target is something like:
- Total hardness around 50–100 ppm as CaCO₃
- Alkalinity around 30–50 ppm
At minimum, avoid water that tastes of chlorine or leaves white scale in your kettle.
Temperature
If your machine lets you set brew temp, start around:
- 93°C for medium roasts
- 94–95°C for light roasts
Too cool can push sourness; too hot can intensify bitterness and astringency—especially when channeling is already creating uneven extraction.
Takeaway: a quick beans and water reset
- If your bag is within 1-3 days of roast, wait and try again around day 7.
- If your espresso tastes metallic or your machine scales quickly, switch to a known coffee water (like Third Wave Water Espresso Profile) or use filtered water that hits the ranges above.
- Adjust brew temp in 1°C steps, not dramatic swings.
When your espresso is right, the aroma is sweet and concentrated, with notes like stone fruit, cocoa, and caramelized sugar.
5) A 10-minute channeling troubleshooting workflow
Use this workflow when your shots seem random. It works by controlling variables one at a time.
Step 1: lock a baseline shot
Pick a starting recipe and stick to it for three pulls:
- Dose: 18.0 g
- Yield: 36 g (1:2)
- Time: aim for 25–30 seconds
- Temp: 93°C
If your machine doesn’t show temp, keep everything else controlled.
Step 2: watch the first 8 seconds
Channeling often reveals itself early. If you see an immediate pale stream, or the shot starts in one spot and stays there, think distribution and puck saturation.
Fix: add 5 seconds preinfusion if possible, and WDT more thoroughly.
Step 3: treat spritzers as a specific clue
Bottomless portafilter spritzers usually mean a localized weak spot: a crack, a void, or a clump. They can also show up if your grind is too fine and the puck fractures under pressure.
Fix options you can test quickly:
- Go slightly coarser (a small adjustment).
- Reduce dose by 0.5–1.0 g to improve headspace.
- Add a puck screen.
Step 4: do a “same everything, new prep” A/B test
Pull one shot with your current routine, then pull the next with meticulous WDT + level tamp. Same dose, same yield.
If the careful-prep shot tastes sweeter—more integrated, with a thicker, syrupy body that coats your palate, you have found your bottleneck.
Step 5: keep a log
Write down dose, yield, time, and one sensory note. Not an essay. Just: “18 in / 36 out / 28s / cherry-cocoa, no spray.”
Takeaway: change one variable at a time
Change one variable per shot. If you adjust grind, dose, temperature, and tamp all at once, you will not know which change helped.
Final Thoughts
Espresso rewards the basics. The level tamp. The careful distribution. The clean shower screen. The patience to let coffee rest 7–14 days. The discipline of 18 g in, 36 g out, timed and tracked.
The next time your shot starts spraying, resist the urge to buy new gear. Run the workflow, make one change, and taste again. When it is dialed in, the shot will taste sweet and balanced with a fuller body.