The best espresso machine for beginners is a semi-automatic model in the $450-700 range, paired with a quality grinder ($200-400). The Gaggia Classic Pro ($450) or Rancilio Silvia ($735) offer the best balance of control, quality, and learning potential. Budget $1,000+ total for machine, grinder, and essential accessories.
Quick pick
Breville Bambino Plus: fast heat-up and automatic milk steaming make it an easy first espresso machine.
If you have been reading espresso forums and machine reviews for a while, you have probably noticed that asking “What’s the best espresso machine for beginners?” gets plenty of passionate answers and no consensus.
Home espresso has grown from a niche hobby into a big market, and choosing your first machine can be overwhelming. It is also the coffee purchase most likely to end in buyer’s remorse if you get it wrong.
It does not have to be that way. The espresso machine market now offers genuine quality at every price point. The challenge is not finding a good machine; it is finding the right one for your needs, budget, and tolerance for complexity.
Many people buy machines that are either too advanced for their skills or too basic for their ambitions. The result is expensive equipment that either intimidates them or disappoints them into giving up on espresso.
What You’re Actually Getting Into
The Learning Curve
Making good espresso is hard. You cannot just follow a recipe and get consistent results; you have to manage several variables at once, and many of your early shots will range from mediocre to undrinkable.
Espresso requires you to simultaneously control seven critical variables:
- Grind size (measured in microns, adjusted by feel)
- Dose (typically 18-20g, but varies by basket and preference)
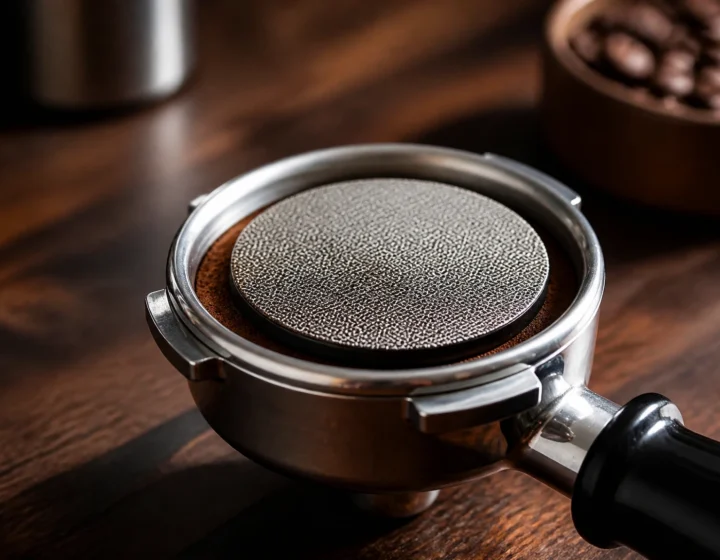
- Distribution (even coffee bed for uniform extraction—learn more about distribution tools in our puck screen vs. paper filter comparison)
- Tamping (30lbs of pressure, level and consistent)
- Timing (25-30 seconds for a double shot)
- Temperature (200-203°F, machine dependent)
- Pressure (9 bars during extraction)
Change any variable, and your shot changes. That is what makes espresso rewarding, but it also means your first machine is the start of learning a complex skill.
Home baristas who stick with it tend to share one trait: they treat their early bad shots as tuition, not failure. Going through a few pounds of coffee before you pull consistently drinkable shots is normal, and those early misses teach you more about extraction than any tutorial video.
The Equipment Ecosystem
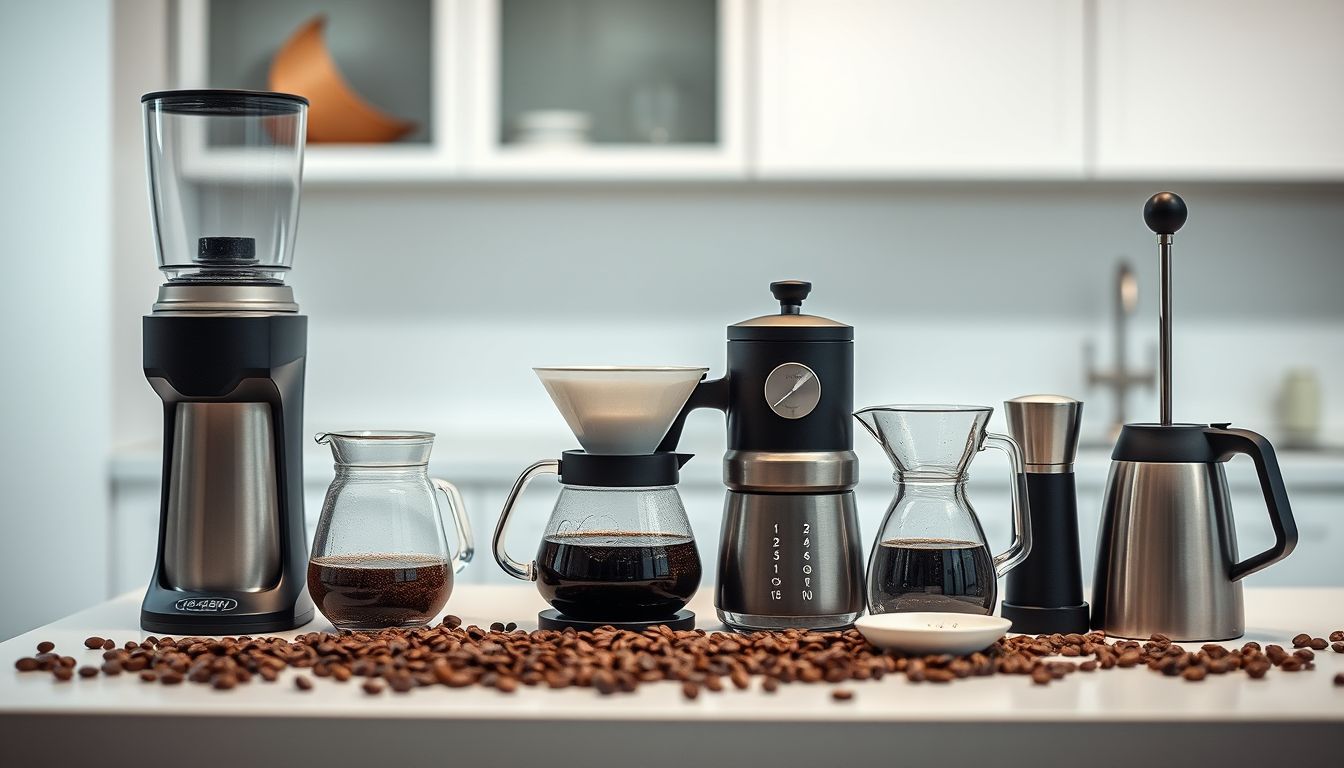
An espresso machine is only the beginning. For a complete breakdown of what you’ll need, check out our ultimate coffee equipment buyer’s guide, but here are the espresso essentials:
Essential Accessories:
- Quality grinder ($200-800)
- Tamper ($30-150)
- Scale ($30-100)
- Milk steaming pitcher ($25-50)
- Cleaning supplies ($30-50)
Total cost: A $500 espresso machine quickly becomes a $1,000+ setup. Budget accordingly.
The Time Investment
Making espresso takes more time and attention than brewing drip coffee. Expect your morning routine to grow by around 10 minutes, and expect to skip espresso on some rushed mornings.
Espresso Machine Types
Choosing a machine type starts with understanding what each category does and what it demands from you.
Manual Lever Machines: The Purist’s Choice
How They Work: You control pressure manually through a lever system. No pumps, no electronics, just you and physics.
Pros:
- Complete control over pressure profiling
- Minimal electronics to fail
- Often beautiful, heirloom-quality construction
- Quiet operation
Cons:
- Steep learning curve
- Physically demanding
- Limited temperature control
- Not ideal for milk drinks
Best For: Experienced coffee enthusiasts who view espresso as a craft and have patience for mastery.
Notable Models: La Pavoni Europiccola ($400-600), Flair Espresso Maker ($200-400)
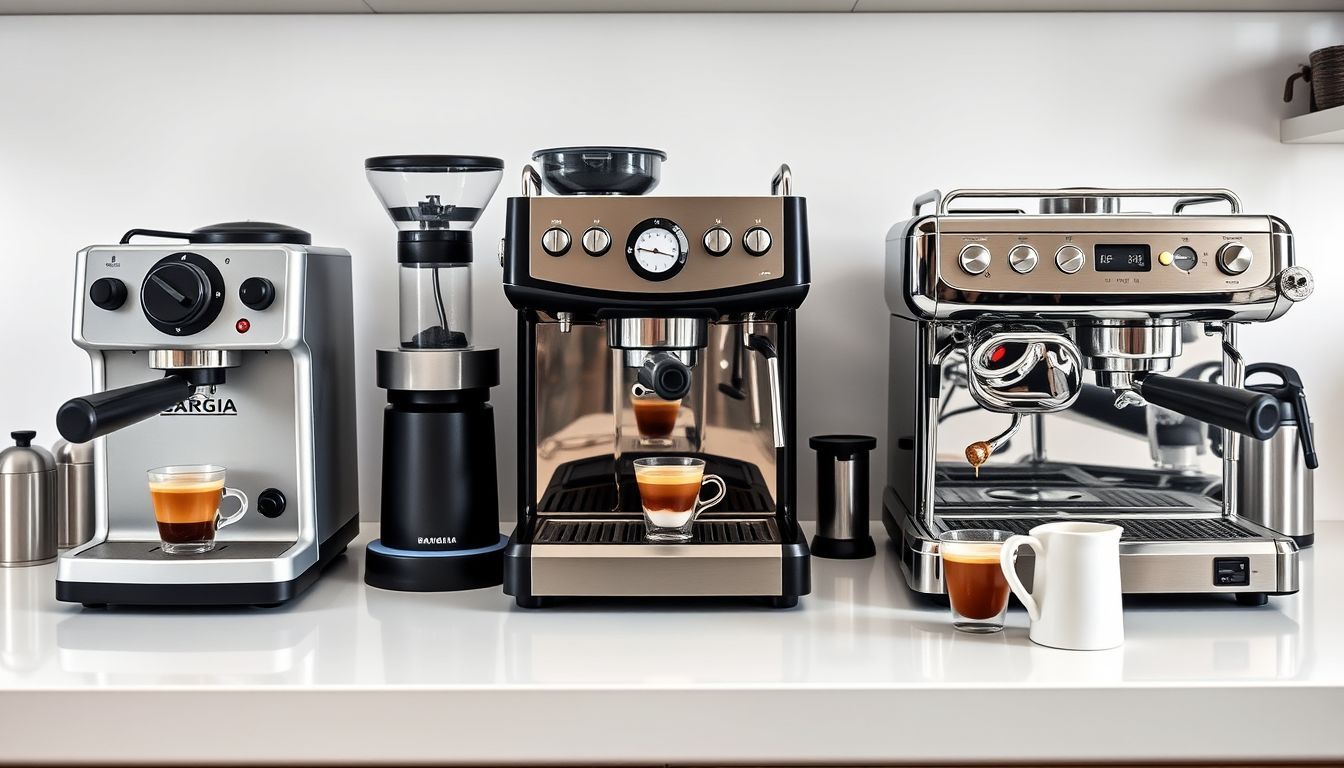
Semi-Automatic Machines: The Sweet Spot
How They Work: Machine controls pressure and temperature, you control timing and technique.
Pros:
- Good balance of control and convenience
- Wide range of price points
- Allows skill development
- Most versatile category
Cons:
- Requires technique development
- Timing is manual
- Consistency depends on user skill
Best For: Most first-time buyers who want to learn proper espresso technique.
Notable Models: Gaggia Classic Pro ($450), Rancilio Silvia ($735), Breville Barista Express ($700)
Automatic Machines: The Convenience Play
How They Work: Machine controls pressure, temperature, and timing. You just press a button.
Pros:
- Consistent results
- Easy to use
- Good for busy mornings
- Less technique required
Cons:
- Less control over variables
- Can mask poor technique
- Often more expensive
- May limit learning
Best For: Users who prioritize convenience over control and don’t want to master manual timing.
Notable Models: Breville Barista Touch ($1,000), Jura E8 ($2,300)
Super-Automatic Machines: The Full Service Option
How They Work: Built-in grinder, automatic dosing, tamping, extraction, and milk frothing. Coffee shop in a box.
Pros:
- Maximum convenience
- Consistent results
- Handles entire process
- Good for offices or high-volume use
Cons:
- Very expensive
- Complex maintenance
- Limited customization
- Can’t use different grinders
Best For: Users who want café-quality drinks with zero technique required and have substantial budgets.
Notable Models: Jura Z10 ($3,500), Saeco Xelsis ($2,800)
Budget Categories and Recommendations
Most first-time buyers land in the $300-700 range.
Entry Level ($300-600): Learning the Ropes
What to know: These machines require patience and realistic expectations. They can make good espresso, but you’ll need to work for it.
Top Pick: Gaggia Classic Pro ($450)
- Proven design with 30+ year track record
- Commercial-grade components
- Active modding community
- Excellent build quality
- Manual steam wand for learning
The Gaggia Classic Pro has been one of the most recommended first machines since its 2018 update. Owners say it produces consistently good shots once you learn its temperature quirks, and many use a short cooling flush before pulling a shot to manage its single boiler’s temperature.
Budget Alternative: De’Longhi Stilosa ($100)
- Basic but functional
- Good for learning fundamentals
- Pressurized baskets for forgiveness
- Limited longevity
What to Expect: Longer heat-up times, basic temperature control, manual everything. Fine for learning, frustrating for perfectionists.
Mid-Range ($600-1,200): Serious Home Brewing
Why step up: These machines add features that make consistent espresso easier to achieve.
Top Pick: Rancilio Silvia ($735)
- Commercial-grade build quality
- Excellent temperature stability
- Durable construction
- Strong resale value
- Upgradeable with PID
Feature-Rich Alternative: Breville Barista Express ($700)
- Built-in grinder
- Pressure gauge
- Pre-infusion
- Automatic dosing
- Good for beginners
What to Expect: Better temperature control, faster heat-up, more consistent results, features that aid learning.
Premium ($1,200-2,500): Enthusiast Territory
The Performance Tier: These machines offer professional-level capabilities with home-friendly features.
Top Pick: Rocket Appartamento ($1,750)
- Heat exchanger design
- Commercial aesthetics
- Excellent build quality
- Simultaneous brewing and steaming
- Italian craftsmanship
Tech-Forward Alternative: Breville Dual Boiler ($1,500)
- Dual boiler system
- PID temperature control
- Pre-infusion
- Shot timer
- Excellent value
What to Expect: Professional-level performance, simultaneous brewing and steaming, precise temperature control, café-quality results.
Luxury ($2,500+): No Compromises
The Professional Tier: These machines offer everything you could want, often with features borrowed from commercial equipment.
Top Pick: La Marzocco Linea Mini ($4,500)
- Dual boiler system
- Commercial-grade components
- Precise temperature control
- Professional aesthetics
- Exceptional build quality
What to Expect: Top-tier performance, commercial-level consistency, and heirloom-quality construction.
The Grinder: Your Most Important Decision
Why Your Grinder Matters More Than Your Machine
A $200 espresso machine with a $400 grinder will make better coffee than a $600 machine with a $200 grinder. Espresso is unforgiving about grind quality—inconsistent particle sizes create channeling, uneven extraction, and disappointing shots.
Inconsistent grinds create uneven extraction. Some particles over-extract (bitter), others under-extract (sour), and you get a muddy mess that tastes nothing like the café shots you’re trying to replicate.
Experienced home baristas consistently report that upgrading the grinder improves cup quality more than upgrading the machine: better clarity, more sweetness, a cleaner finish. An expensive machine can’t compensate for inconsistent grinds.
Grinder Categories
Entry Level ($200-400):
- Baratza Sette 270 ($350): Purpose-built for espresso
- Eureka Mignon Notte ($280): Quiet, consistent, compact
Mid-Range ($400-800):
- Eureka Mignon Specialita ($550): Excellent consistency, low retention
- Baratza Vario ($480): Versatile, upgradeable
Premium ($800+):
- Eureka Atom 75 ($900): Commercial-grade performance
- Mahlkönig X54 ($1,200): Professional-level consistency
The Built-In Grinder Debate
Machines with built-in grinders offer convenience but compromise on grind quality and flexibility. They’re good for beginners but limiting for advancement.
Pros: Convenience, space saving, integrated workflow
Cons: Lower grind quality, can’t upgrade separately, harder to clean
Key Features Decoded
Temperature Control
- Basic Thermostats: ±10°F variation, adequate for learning
- PID Controllers: ±1°F precision, essential for consistency
- Dual Boilers: Separate temperatures for brewing and steaming
Pressure Systems
- Vibratory Pumps: Standard in home machines, adequate pressure
- Rotary Pumps: Quieter, more durable, found in premium machines
- Manual Control: Lever machines give complete pressure control
Boiler Configurations
- Single Boiler: One temperature, must switch between brewing and steaming
- Heat Exchanger: Brew and steam simultaneously, some temperature variation
- Dual Boiler: Optimal control, independent temperatures, premium feature
Water Quality
Water matters more than many beginners expect. Espresso is mostly water, and water chemistry directly affects extraction and machine longevity.
Ideal Water Profile:
- Total hardness: 50-100 ppm
- pH: 6.5-7.5
- Chlorine: 0 ppm
Solutions:
- Bottled water: Crystal Geyser or similar low-mineral water
- Filtration: BWT or Third Wave Water packets ($15-30)
- Avoid: Distilled water (damages machines), very hard tap water (causes scale)
Switching from hard tap water to filtered or softened water usually gives cleaner-tasting shots and means you’ll need to descale far less often.
The First-Timer’s Decision Framework
Step 1: Define Your Priorities
- Convenience vs. Control: Do you want to push a button or master a craft?
- Budget Reality: Include grinder and accessories in your budget
- Space Constraints: Measure your counter space and factor in workflow
- Drink Preferences: Espresso only, or milk drinks too?
- Time Investment: How much time do you want to spend per drink?
Step 2: Match Machine to Goals
- Learning-Focused: Semi-automatic with manual controls
- Convenience-Focused: Automatic or super-automatic
- Performance-Focused: Premium semi-automatic or dual boiler
- Budget-Focused: Entry-level semi-automatic with upgrade path
Step 3: Plan Your Ecosystem
Essential Day One:
- Machine
- Grinder
- Scale
- Tamper
- Basic cleaning supplies
Upgrade Path:
- Better grinder
- Precision accessories
- Water filtration
- Advanced cleaning tools
Common First-Timer Mistakes
The Feature Trap
Buying a machine with features you don’t understand or won’t use. Start simple, upgrade later.
The Grinder Afterthought
Spending all your budget on the machine and skimping on the grinder. This usually leads to disappointing shots.
The Impatience Problem
Expecting café-quality results immediately. Home barista communities like Reddit’s r/espresso and Home-Barista commonly describe a learning curve of a few months of daily practice to reach consistent shots. Plan for a learning curve measured in months, not days.
The Upgrade Paralysis
Waiting for the “perfect” machine instead of starting with something good. Perfect is the enemy of good enough.
Maintenance
Daily Tasks
- Rinse group head
- Empty drip tray
- Wipe down surfaces
- Purge steam wand
Weekly Tasks
- Deep clean portafilter and baskets
- Clean water reservoir
- Descale if needed (depends on water hardness)
Monthly Tasks
- Descaling cycle
- Deep clean internal components
- Check for wear and tear
The True Cost of Ownership
Factor in ongoing costs:
- Descaling solution: $20-30 annually
- Replacement parts: $50-100 annually
- Professional service: $100-200 annually (if needed)
Knowing When You’ve Outgrown Your First Machine
Signs It’s Time to Upgrade:
- You can consistently pull good shots (2-3 months of practice minimum)
- Temperature limitations frustrate you
- You want to experiment with pressure profiling
- You’re making multiple drinks back-to-back
- Your machine limits your technique development
Don’t Upgrade Because:
- Your shots are inconsistent (usually a technique issue)
- You’ve only had the machine 1-2 months
- You haven’t upgraded your grinder yet
- You’re chasing gear instead of skill
Most beginners should plan to spend 6-12 months with their first machine before considering an upgrade.
Making the Final Decision
The right machine is the one that matches your current skills while leaving room to grow.
The 80/20 Rule
Choose a machine that meets 80% of your needs perfectly rather than 100% of your needs adequately. You can always upgrade later.
The Resale Reality
Quality machines hold their value well. Factor resale value into your decision—it’s easier to upgrade when you can recoup most of your investment.
The Support System
Consider:
- Local service availability
- Parts availability
- Community support (forums, videos)
- Manufacturer warranty and support
Starter Machines and Grinders to Look At
A short list across the entry and mid-range tiers discussed above.
- Breville Bambino Plus: fast heat-up and automatic milk steaming; an easy first machine.
- Breville Barista Express : machine and grinder in one, which keeps the first setup simple.
- Gaggia Classic Evo Pro: a simple, repairable single-boiler machine with a commercial-size 58 mm portafilter.
- Rancilio Silvia: a long-running prosumer machine known for its durability.
- Baratza Encore ESP: an affordable grinder that can grind fine enough for espresso.
Frequently Asked Questions
What’s the minimum budget for a good first espresso setup?
Plan for $700-1,000 total: $400-500 for a semi-automatic machine, $200-350 for a grinder, and $100-150 for accessories (scale, tamper, cleaning supplies).
Do I need a separate grinder or can I use a built-in one?
A separate grinder provides better quality and upgrade flexibility. Built-in grinders are convenient but limit your grind quality and can’t be upgraded independently.
How long does it take to learn to make good espresso?
Expect 2-3 months of daily practice to achieve consistency. Your first 50-100 shots will range from mediocre to undrinkable—this is normal and part of the learning process. For more troubleshooting help when things go wrong, see our guide to fixing common espresso problems.
Can I make good espresso with a $300 machine?
Yes, but it requires more skill and patience. Entry-level machines like the Gaggia Classic Pro ($450) are the sweet spot for quality at an accessible price point.
Final Thoughts
Choosing your first espresso machine is not about finding a perfect machine; it is about finding the right one to start with. Many home baristas own several machines over time, and each one teaches them something about their preferences.
The “best” first espresso machine is the one that matches your current skill level while providing room to grow. It is also one that fits your budget comfortably.
Remember, the most expensive machine in the world won’t make good espresso if you don’t understand the fundamentals. Start with something that encourages learning, invest in a quality grinder, and be patient with yourself. Getting from bad shots to consistently good espresso takes time, but it is worth it.
To get started:
- Set your total budget (machine + grinder + accessories)
- Determine your priority (learning/control vs. convenience)
- Choose a semi-automatic machine in your budget range with a quality grinder
Your first machine probably won’t be your last. Pick a quality entry-level setup and commit to the learning curve.