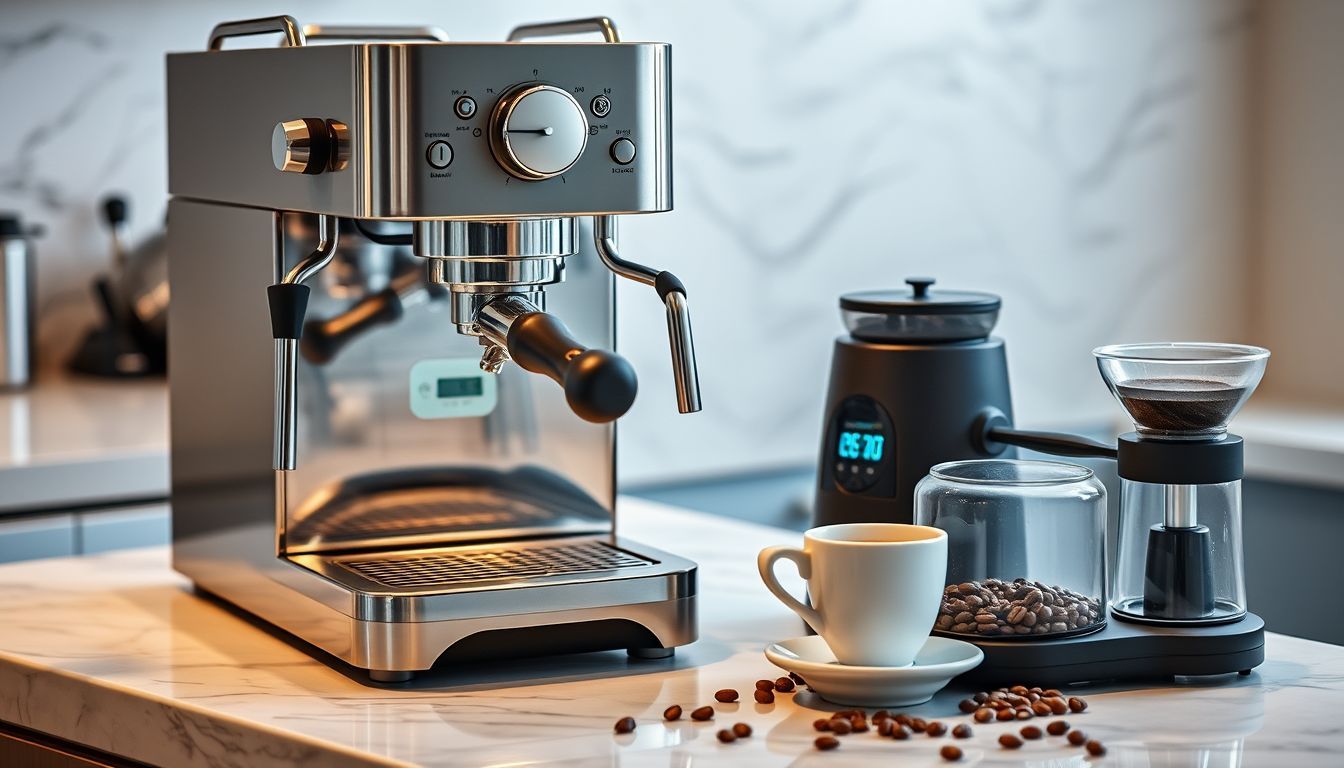
A home espresso setup requires three essential components: a quality burr grinder ($200-800), an espresso machine ($300-3000), and precision accessories (scale, tamper, distribution tool). Expect to invest $800-1500 for a balanced starter setup that produces café-quality results. The grinder matters more than the machine—allocate 50% of your budget there.
Quick pick
Breville Barista Express BES870XL: a machine and burr grinder in one box, which keeps the first espresso setup simple and the total cost predictable.
Our Top Picks at a Glance
| Category | Best Pick | Price Range | Check Price |
|---|---|---|---|
| Best Entry Grinder | Baratza Encore ESP | $200 | View on Amazon |
| Best Mid-Range Grinder | Eureka Mignon Specialita | $650 | View on Amazon |
| Best Entry Machine | Gaggia Classic Pro | $450 | View on Amazon |
| Best All-in-One | Breville Barista Express | $750 | View on Amazon |
| Best Beginner Machine | Breville Bambino Plus | $500 | View on Amazon |
| Best Prosumer Machine | Rancilio Silvia | $850 | View on Amazon |
Watching a good barista pull shots makes home espresso look easy. Then you start researching machines and run into terms like PID controllers and rotary pumps, along with some very high price tags.
Plenty of home espresso beginners get frustrated because they buy the wrong equipment in the wrong order. A good home espresso setup is achievable, but it takes understanding how equipment, technique, and expectations fit together. This guide walks you through building a setup that pulls consistently good shots on a reasonable budget.
Understanding the Espresso Equation
The Four Elements of Home Espresso
Great espresso relies on four elements:
- Quality beans (freshly roasted, properly stored)
- Consistent grinding (uniform particle size distribution)
- Precise extraction (temperature, pressure, timing)
- Proper technique (dosing, distribution, tamping)
Only two of these depend on expensive equipment. The other two come down to knowledge and practice.
Spend More on the Grinder
Grind consistency is one of the biggest drivers of espresso quality. Yet many beginners do exactly the opposite—they spend $800 on a machine and $150 on a grinder. That split usually leads to frustration and mediocre coffee.
Grinders
Why Your Grinder Matters More Than Your Machine
Choosing the right grinder is the first step in learning how to make espresso at home consistently. Espresso demands consistency at a microscopic level. Particle sizes are measured in microns, and small variations can turn a good shot sour or bitter. A quality burr grinder creates uniform particles that extract evenly under pressure.
Entry-Level Grinders ($200-400)
A great entry-level choice is the Baratza Encore ESP Coffee Grinder, which provides the precision needed for espresso. Its design specifically targets espresso particle distribution, giving you a consistent foundation for your shots. At around $200, it’s one of the most recommended entry points into espresso grinding.
The Baratza Sette 270 deserves a mention here too—its design keeps grind retention very low, so little stale coffee ends up in your next dose.
Eureka Mignon Specialita – Quieter than many grinders, with stepless adjustment and excellent build quality. The 55mm flat burrs produce consistently uniform grinds. If you can stretch your budget to ~$650, it’s one of the most recommended grinders for new home baristas.
Mid-Range Grinders ($400-800)
Niche Zero – Popular with home enthusiasts. Its single-dosing design nearly eliminates retention, so the beans you put in are the grounds you get out. The stepless adjustment and conical burrs work well across brewing methods. Note: The Niche Zero is sold direct from the manufacturer with frequent waitlists, not on Amazon.
Eureka Mignon XL – Larger 65mm burrs than the Specialita, resulting in faster grinding and better particle distribution. The timer-based dosing is reliable once dialed in, and it often costs less than the Niche Zero.
High-End Grinders ($800+)
Mahlkönig X54 – Commercial-grade burrs in a home-friendly package. The grind quality compares well with pricier grinders, and it handles both espresso and filter grinding without the need for a second grinder.
Weber Key – A premium grinder for perfectionists, sold direct from Weber Workshops.
Espresso Machines: Finding Your Sweet Spot
Entry-Level Machines ($300-600)
Gaggia Classic Pro – Reliable, repairable, and capable of excellent results with proper technique. The commercial-grade portafilter and three-way solenoid valve put it ahead of most machines in this price range. For a detailed breakdown of features to prioritize, see our guide to choosing your first espresso machine.
Breville Bambino Plus – Easy to use, with solid performance. The automatic milk steaming is useful for beginners, and the pre-infusion feature helps with extraction consistency. If you want to skip the learning curve on milk steaming, this is the easiest path.
Mid-Range Machines ($600-1200)
These machines offer prosumer features at moderate prices.
Rancilio Silvia – Solidly built with commercial-grade components. The brass boiler provides excellent thermal stability, though the lack of PID means you’ll need to temperature surf initially. Add an aftermarket Auber PID kit for ~$170 and you’ve got a near-prosumer machine for under $1,000.
Breville Barista Express – Integrated grinder makes this an attractive all-in-one solution, though serious enthusiasts will eventually want to upgrade the grinder separately. Best for households where counter space is at a premium.
For a step up with built-in PID and pressure gauge, the Breville Barista Pro or Barista Touch are worth considering at $900-1300.
Prosumer Machines ($1200-3000)
Rocket Appartamento – A well-built Italian machine whose E61 group head gives consistent brewing temperature. Best purchased through specialty retailers like Whole Latte Love or Clive Coffee.
Profitec Pro 300 – Dual boiler design allows simultaneous brewing and steaming. PID temperature control eliminates guesswork.
The Enthusiast Tier ($3000+)
La Marzocco Linea Mini – Essentially a commercial machine shrunk for home use. If you’re serious enough to consider this category, you probably already know what you want.
Home Espresso Setup Strategies for Every Budget
| Budget Level | Grinder | Machine | Total | Best For |
|---|---|---|---|---|
| Starter ($800) | Baratza Sette 270 ($400) | Gaggia Classic Pro ($450) | $850 | Learning fundamentals |
| Balanced ($1500) | Eureka Specialita ($650) | Rancilio Silvia ($850) | $1,500 | Serious home baristas |
| Premium ($3000) | Mahlkönig X54 ($1,200) | Profitec Pro 300 ($1,700) | $3,000 | No-compromise performance |
The $850 Sweet Spot
- Grinder: Baratza Sette 270 ($400)
- Machine: Gaggia Classic Pro ($450)
- Accessories: scale, tamper, distribution tool ($50)
With time spent on technique, this combination can outperform more expensive setups.
The $1500 Balanced Approach
- Grinder: Eureka Mignon Specialita ($650)
- Machine: Rancilio Silvia ($850)
- Accessories: Quality scale, precision tamper, WDT tool ($100)
This setup provides room to grow while producing consistent results once you learn it. It’s a strong answer to “just tell me what to buy.”
The $3000 Premium Setup
- Grinder: Mahlkönig X54 ($1200)
- Machine: Profitec Pro 300 ($1700)
- Accessories: Professional tools and accessories ($100)
At this level, results depend mostly on your skill and bean quality. On a tighter budget, used Gaggia Classic Pros are widely available and make the entry tier more accessible.
Essential Accessories
The $150 Accessory Starter Kit
Whatever machine and grinder you choose, these accessories make a noticeable difference to your shots:
- Digital coffee scale with timer (~$25)
- 58mm calibrated tamper (~$30)
- WDT distribution tool (~$20)
- Stainless steel milk pitcher (12oz) (~$15)
- Knock box (~$25)
- Cafiza espresso cleaner (~$15)
- Descaling solution (~$15)
Precision Tools That Matter
Digital Scale – Essential. You need 0.1g precision for consistent dosing. The Acaia Lunar is a popular premium option at around $250, but a simple coffee scale with a timer covers the essentials at a fraction of the cost.
Distribution Tools – A Weiss Distribution Technique (WDT) tool breaks up clumps and ensures even distribution. You can make one with 3D-printed parts and acupuncture needles for under $20, or buy a pre-made one for similar money.
Quality Tamper – The tamper included with many machines is lightweight or poorly sized. A properly sized, flat-based tamper ensures even compression. A calibrated tamper offers excellent value and consistency.
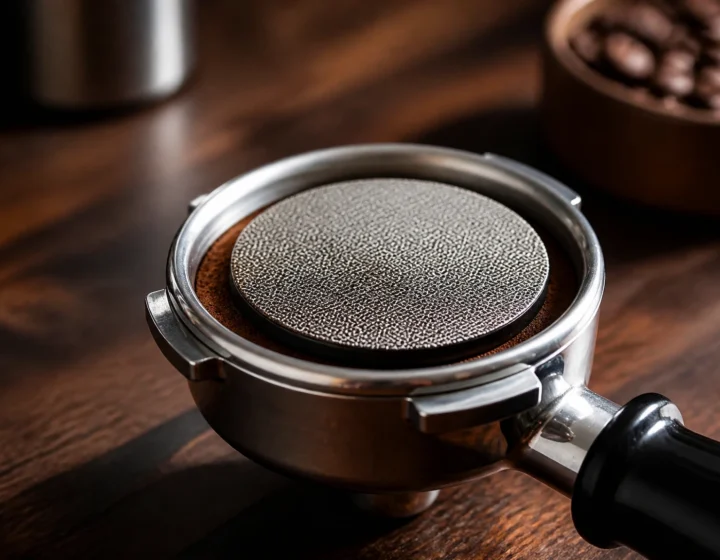
Puck Screens – A $15 stainless steel puck screen helps with even water distribution and keeps your group head cleaner. For details on whether they’re right for you, see our deep-dive on puck screens vs paper filters.
Water: The Forgotten Variable
Espresso is mostly water, yet water quality is easy to overlook. Ideal brewing water contains 75-150 ppm total dissolved solids with balanced mineral content. If your tap water tastes good, it’s probably fine for espresso. If not, consider Third Wave Water espresso mineral packs: mix one pack into a gallon of distilled water for balanced brewing water at about $1 a gallon. It is one of the cheapest taste upgrades available.
Dialing In
Understanding Extraction Variables
Espresso extraction follows predictable patterns:
- Grind finer = slower flow, more extraction
- Grind coarser = faster flow, less extraction
- More coffee = slower flow, potentially more extraction
- Less coffee = faster flow, less extraction
The 18:36 Starting Point
Begin with 18g of coffee targeting 36g of liquid espresso in 25-30 seconds. This 1:2 ratio provides a balanced starting point for most beans. Adjust grind size to hit your time target, then taste and modify ratio if needed.
Troubleshooting Common Issues
A grind that’s too coarse is the most common cause of sour shots. Sour shots typically indicate under-extraction. Try grinding finer, using more coffee, or increasing water temperature.
Bitter shots suggest over-extraction. Grind coarser, use less coffee, or decrease temperature.
Channeling (uneven extraction) usually results from poor distribution or inconsistent tamping. Using a puck screen vs paper filter can help minimize channeling, though proper distribution technique matters more. Focus on your prep routine.
Reading Your Shots
Visual cues tell you a lot about extraction quality. Watch for honey-like flow in the first few seconds, then a steady stream that gradually lightens. If the stream is too fast or too slow from the start, adjust your grind accordingly.
Advanced Techniques
Pre-infusion and Pressure Profiling
Many modern machines offer pre-infusion—a brief period of low-pressure water contact before full extraction. This helps even out the coffee bed and can improve extraction consistency.
Pressure profiling, available on high-end machines, allows you to vary pressure throughout the shot. While not necessary for excellent espresso, it opens up new flavor possibilities.
Temperature Stability and PID Controllers
Consistent temperature is crucial for repeatable results. Machines with PID controllers hold temperature much more steadily than non-PID machines, which can swing noticeably between shots. If your machine lacks PID, learn temperature surfing techniques to time your shots with optimal boiler temperature, or invest in an aftermarket PID kit if your machine supports one.
Maintenance
A few daily and weekly habits keep your setup working well and lasting longer.
Daily Maintenance (5 minutes)
- Backflush your machine after each session (with a blind filter basket)
- Purge the group head before brewing
- Empty and rinse the drip tray and water reservoir
- Wipe down all surfaces with a microfiber cloth
Weekly Deep Clean (15 minutes)
- Deep clean your grinder burrs with grinder cleaning tablets
- Descale if you have hard water using espresso machine descaler (monthly for soft water)
- Replace water filters as recommended
- Clean portafilter and baskets with Cafiza espresso cleaner
The Economics of Home Espresso
A quality home setup costs $800-1500 up front, but the per-cup cost is low. At café prices of $4-6 a drink, a $1,200 setup can pay for itself within a few hundred drinks. Assuming $15/lb specialty coffee yielding 30 shots, your coffee cost is $0.50 per double shot. Compare that to $4-6 at a café.
Common Mistakes and How to Avoid Them
The Upgrade Trap
Many enthusiasts constantly chase equipment upgrades instead of perfecting technique. Master your current setup before considering upgrades. Skilled users pull excellent espresso from basic machines.
Neglecting Bean Quality
No amount of expensive espresso equipment can salvage stale, poorly roasted beans. Invest in quality, freshly roasted coffee from reputable roasters. Use beans within 2-4 weeks of roast date for optimal results, and store them in an airtight container like an Airscape to preserve freshness.
Inconsistent Routine
Espresso rewards consistency. Develop a repeatable routine for dosing, distribution, tamping, and timing. Small variations compound into significant taste differences.
The Learning Curve: Setting Realistic Expectations
Your first month of home espresso will probably be frustrating. You’ll pull sour shots, bitter shots, and shots that somehow manage to be both simultaneously. This is normal.
Professional baristas train for months to achieve consistency. Expect to waste some coffee while you learn. Keep detailed notes about grind settings, doses, and results; patterns will emerge and your shots will become more consistent.
How to Accelerate Learning
Focus on one variable at a time, keep detailed records, and taste every shot, including the failures, since they show you what to change next.
Beyond Straight Espresso
Milk-Based Drinks
Once you’ve mastered straight espresso, milk drinks open up new possibilities. Proper milk steaming requires practice, but the principles are straightforward: create microfoam through controlled air introduction, then heat without adding more air. You’ll need a quality stainless steel milk pitcher and a milk thermometer until you can feel temperature by touch. Alternative milks present unique challenges—our guide to microfoaming oat milk at home covers the 120-140°F range for good texture.
Seasonal Adjustments
Coffee beans change with humidity and age. Your grind settings will need regular adjustment, sometimes daily.
Frequently Asked Questions About Home Espresso Setups
How much should I spend on my first home espresso setup?
A balanced starter setup costs $800-1500: $400-700 for the grinder, $300-750 for the machine, and $50-100 for essential accessories. This range can produce café-quality espresso.
What’s more important: the grinder or the machine?
The grinder is significantly more important. Consistent grinding and fresh beans matter more to espresso quality than the machine itself. Always prioritize grinder quality in your budget allocation.
Can I make good espresso with a $500 budget?
Yes, but prioritize the grinder. A $300 Baratza Sette 270 + $150 Gaggia Classic Pro (used) + $50 accessories will usually outperform a $500 machine paired with a $100 grinder.
How long does it take to learn to pull good shots?
Expect 2-4 weeks of daily practice to achieve consistency. Your first month will involve trial and error, but patterns emerge quickly with deliberate practice and note-taking.
Do I need a PID controller on my espresso machine?
Not necessarily for beginners. While PID controllers provide excellent temperature stability, many skilled baristas produce outstanding espresso on non-PID machines using temperature surfing techniques. Consider PID a nice-to-have, not a must-have for your first machine. You can always add an aftermarket PID kit later if needed.
What water should I use in my espresso machine?
Aim for 75-150 ppm total dissolved solids with balanced minerals. The simplest reliable solution is Third Wave Water mineral packs mixed into distilled water. This protects your machine from scale buildup and supports good extraction.
Editor’s Final Picks: What We’d Buy Today
If you just want to know what to buy, here’s our pick for each budget tier:
- Under $700 total: Baratza Encore ESP + Gaggia Classic Pro + accessories
- Around $1,000: Breville Barista Express (all-in-one) + accessories
- $1,500 sweet spot: Eureka Specialita + Rancilio Silvia + accessories
- $3,000+ no compromise: Mahlkönig X54 + Profitec Pro 300
Conclusion
Start with a balanced approach: invest more in your grinder than your machine, focus on technique over gadgets, and remember that consistency beats complexity every time. The most expensive setup in the world won’t make good espresso if you don’t understand the fundamentals.
Last updated: May 2026. Prices and availability subject to change.