How to Make Latte Art: The Short Version
To make latte art, you need properly steamed microfoam (140-150°F) and a well-extracted espresso shot. Pour milk from 3-4 inches to create your base, then bring the pitcher close to the surface and increase flow to create white patterns. Start with simple hearts before progressing to rosettas and tulips.
Latte art is more than decoration. It depends on properly steamed milk, a well-extracted espresso shot and good cup preparation, so a latte that looks good usually tastes good too.
The Science Behind the Art
Understanding Milk Proteins and Fat Content
Latte art depends on milk proteins, specifically casein and whey. When you steam milk, these proteins act as surfactants, trapping air bubbles in a stable foam and creating smooth microfoam.
Fat content matters too. Whole milk (3.25% fat) provides the best balance of protein stability and creamy texture. While you can create latte art with alternative milks, each behaves differently. Oat milk requires precise temperature control (120-140°F) to achieve proper microfoam, though its protein structure most closely mimics dairy among plant-based options, while almond milk requires more finesse due to its lower protein content.
Milk Temperature
The widely recommended milk temperature for latte art is about 140-150°F (60-65°C). In this range, milk proteins unfold enough to stabilize the foam, creating the structure latte art needs. Below this range, the proteins haven’t fully denatured to create stable foam. Above it, you’re essentially cooking the milk, breaking down the proteins and creating a grainy texture that won’t hold patterns.
Tip: Your hand should be able to comfortably hold the milk pitcher when it’s at the right temperature. If it’s too hot to touch, you’ve gone too far.
Essential Equipment for Latte Art
Machine, Grinder and Pitcher
You don’t need a $15,000 espresso machine to learn how to make latte art at home, but you do need consistent steam pressure. The right home equipment can make you look like a professional barista without the commercial price tag—look for machines that can maintain at least 1.2 bars of steam pressure.
Your milk pitcher matters as much as your espresso machine. A 20-ounce stainless steel pitcher with a pointed spout is a good starting point. Rattleware and Rhinowares pitchers are widely used by baristas for their pour control and heat retention.
Grinder Considerations
Don’t overlook your grinder. Latte art needs good espresso, and that means consistent particle size. A quality burr grinder is essential.
Fundamental Techniques
Steaming Milk
Milk steaming for latte art is the foundation of every design—without proper microfoam, even perfect pouring technique won’t work. Here’s a step-by-step approach:
- Start with cold milk (around 40°F) in a clean pitcher
- Purge your steam wand to remove any condensation
- Insert the wand just below the surface and turn on full steam
- Create microfoam for the first 3-5 seconds by keeping the wand near the surface
- Plunge the wand deeper to heat the milk without creating more foam
- Stop steaming when the pitcher becomes too hot to hold comfortably
The key is achieving microfoam—tiny, uniform bubbles that create a paint-like consistency. If you’re getting large bubbles, your wand is too close to the surface or your steam pressure is insufficient.
The Pour
Latte art happens in two phases: the base pour and the design creation. During the base pour, you’re establishing the canvas by pouring from a height of 3-4 inches, allowing the milk to penetrate the espresso and create a uniform brown surface.
The design forms when you bring the pitcher close to the surface and increase your flow rate. This is when the white microfoam begins to sit on top of the coffee, creating your design.
Classic Designs
These latte art designs for beginners teach fundamental skills you’ll use in every pattern you create.
The Heart
The heart is the usual first design. It teaches flow control and timing without complex wrist movements.
Technique:
- Pour your base from height into the center of the cup
- When the cup is about half full, bring the pitcher close to the surface
- Pour steadily into the center, creating a white circle
- When the cup is nearly full, draw the pitcher through the circle toward the edge
The heart teaches you the fundamental principle: white foam appears when you pour close to the surface with good flow rate.
Timeline Expectations: Consistent hearts usually take a few weeks of regular practice, and rosettas and tulips take longer. Don’t rush; each design teaches skills you will need later.
The Rosetta
The rosetta (or leaf) is a step up. It requires rhythm, wrist control, and confidence.
Technique:
- Start with your base pour
- When half full, bring the pitcher close and begin pouring into the center
- Once you see white foam, start oscillating your wrist side to side
- Gradually move the pitcher toward the back of the cup while maintaining the wiggle
- Finish by drawing through your pattern toward the front edge
The rosetta teaches you pattern creation and flow control simultaneously. Don’t get discouraged—this one takes practice.
The Tulip
The tulip is all about controlled pours and strategic pauses.
Technique:
- Create your base pour
- Pour a small white circle in the back of the cup
- Stop pouring and move the pitcher forward slightly
- Pour another circle, slightly overlapping the first
- Repeat 2-3 times
- Finish by drawing through all circles to create the stem
Advanced Latte Art Techniques
Free Pour vs. Etching
Purists stick to free pour, creating designs only by pouring milk, without tools. Etching uses a toothpick or similar tool to shape the foam after pouring. Etching can create intricate designs, but free pour is generally seen as the harder skill.
Color Contrast and Layering
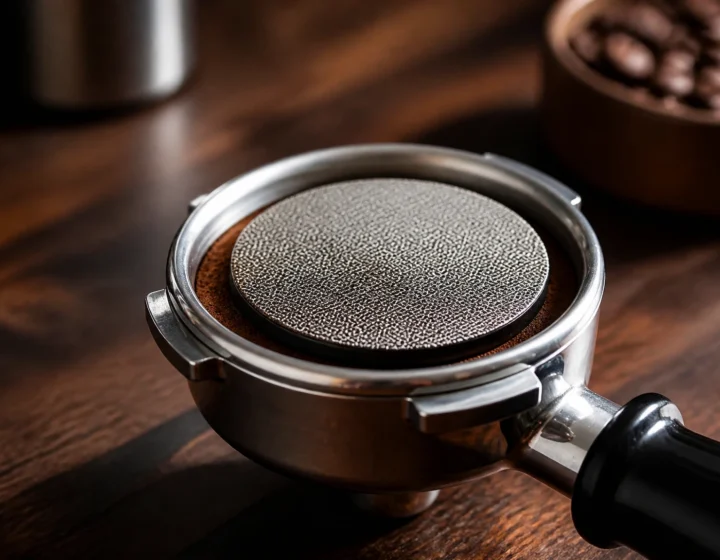
Advanced practitioners play with contrast by adjusting their espresso shots and milk ratios. A properly extracted shot with good crema provides better canvas contrast than an over-extracted, bitter shot with minimal crema. If you’re struggling with espresso consistency, using a puck screen can reduce channeling and improve your crema quality for better latte art.
Multiple Pour Techniques
Once you’ve mastered single-design pours, try combining elements. A heart inside a rosetta, or multiple tulips in sequence, showcases advanced flow control and planning.
Troubleshooting Common Issues
Learning how to make latte art comes with predictable challenges that every beginner faces.
Foam and Pouring Problems
Problem: Large, soapy bubbles instead of microfoam
Solution: Keep your steam wand closer to the surface for less time, and ensure your milk is cold to start
Problem: Milk won’t create any foam
Solution: Check your steam pressure and ensure you’re introducing air during the first few seconds
Problem: Designs immediately disappear
Solution: Your milk might be too hot, or your espresso might lack sufficient crema
Problem: White milk sinks immediately instead of sitting on the surface
Solution: Your espresso may have insufficient crema (check grind size and freshness), or you’re pouring from too high during the design phase
Problem: Design looks good initially but disappears within seconds
Solution: Your milk is likely over-steamed (above 155°F), breaking down the protein structure
Common mistake: Many beginners pour from too far away during the design phase. Remember: height determines whether you’re building the base (high pour) or creating the pattern (low pour, almost touching the surface).
Consistency Challenges
The biggest hurdle most home baristas face is consistency. Professional baristas make hundreds of drinks daily, giving them constant practice. At home, set aside 15-20 minutes for practice sessions using just milk and water—no need to waste expensive coffee beans while learning. Using a simple digital coffee scale with a timer can also help you measure your milk and espresso shots for repeatable results.
Does Latte Art Affect Taste?
Presentation affects how we taste. Sensory research has found that people tend to rate the same drink more highly when it looks appealing.
Beyond looks, the process that creates good latte art (proper steaming, correct ratios, appropriate temperatures) also improves the drink itself.
Beyond the Basics
Seasonal Adaptations
Consider adapting your designs seasonally. Leaf patterns suit autumn, and heart variations suit Valentine’s Day. In a café, this kind of detail also adds to the customer experience.
Alternative Canvas Options
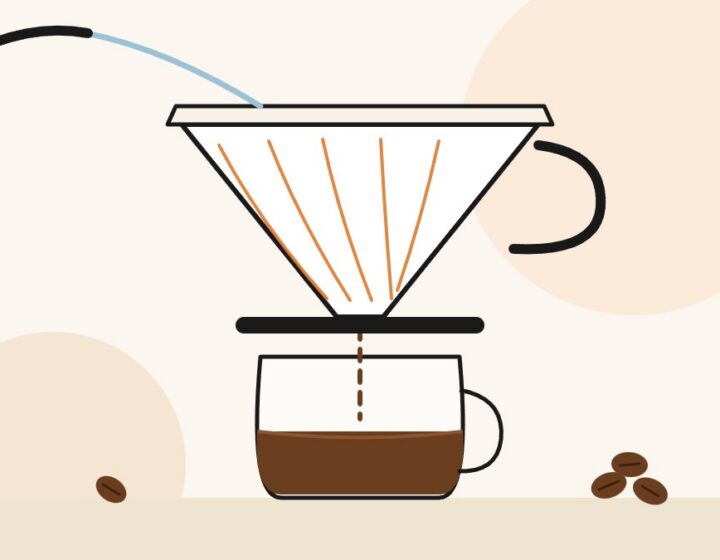
Don’t limit yourself to lattes. Cappuccinos offer a smaller canvas but allow for more dramatic contrast. Flat whites provide a different milk-to-espresso ratio that can showcase subtle design work. You can even experiment using coffee brewed in a classic Chemex Pour-Over Glass Coffeemaker, prepared with a precise gooseneck kettle, as a base for your art.
Why Cafés Care About Latte Art
From an industry perspective, latte art serves multiple purposes beyond aesthetics. It’s a quality indicator, a marketing tool, and a skill differentiator. It’s also part of why specialty cafés can charge more per drink.
Frequently Asked Questions About Latte Art
What milk is best for latte art?
Whole milk (3.25% fat) provides the best balance of protein stability and creamy texture for beginners learning latte art techniques.
What temperature should milk be for latte art?
The optimal milk temperature for latte art is 140-150°F (60-65°C). Your hand should be able to comfortably hold the pitcher at this temperature.
Can you make latte art without an espresso machine?
While traditional latte art requires steam pressure from an espresso machine, you can practice pouring patterns with a handheld milk frother, though results won’t be as refined.
Conclusion
Learning latte art is less about competition-level designs than about getting the fundamentals right: proper extraction, correct milk temperature and good ingredients.
Start with milk steaming, get the heart consistent, then work toward more complex designs.
Your Next Steps:
- Master milk steaming this week—practice with just milk and water until you can consistently create microfoam
- Perfect the heart before attempting rosettas (this builds essential flow control)